- Illustrations will make your Story more Vivid.
- They’ll give it more depth.
- They allow the Public to develop a more durable & more memorable bond with the Story.
- As a Writer you may not have the Skills necessary to draw.
- Or even to know what to draw.
- Though, it is fairly simple to compose your future Story with the appropriate illustrations.
Summary – Illustrating your Story
- Start with 6 to 12 Characters.
- Refine the Characters’ Designs.
- Draw the 10 Main Scenes of the Story.
- Decide if you need more Scenes.
- Draw a 1st Cover.
- Draw 2 other Cover Designs.
- Choose the most suitable.
- Integrate the other 2 in the Book.
Characters
- Start with 6 to 12 Characters
- Start with Simple Silhouettes.
- Use different Body Types to create Visual Contrast.
- Draw Tall & Small Characters.
- Thin & Thick ones.
- Muscular Characters & Curvaceous Characters.
- Busty Characters & Slender ones.
- Try different body types combinations.
- You can end up with 12 different silhouettes quite easily.
- Try to draw at least 1 Character every day.
- Refine the Characters’ Designs
- What defines your Character?
- What makes her Unique?
- How would you make different?
- Now that you have the basic Block, what should you add?
- Characters will be defined by their Facial Features.
- Here too, create variations.
- The Size, Shape & Inclination of the different facial feature will have a significant impact on the Character’s perception by the Public.
- Try different Eyes.
- Different Noses, Ears, Lips, Cheekbones, Cheeks.
- Try different Skin Textures.
- Which kind of Skin would suit this Character?
- How thick should it be?
- Re-draw at least 1 Character every day.
- Re-draw them until you have 4-5 different design per Character.
- If these designs are inappropriate for this Story you could use them for another one.
- It’s never wasted practice.
- Strengths & Weaknesses
- Expose the Strengths & Weakness through visual means.
- Through the poses.
- Through the Character’s gestures.
- Through their Accessories.
- Quirks
- Quirks are the last stage of your Drawing.
- Still, keep it simple & clear.
- Use Symbols & Iconography to make use of cultural acceptations.
- Which Accessories should the Character bear?
- Which Hairstyle would make her more Attractive?
- Which Headdress would make her more Remarkable?
- Which Clothes would suit her?
- Don’t overdo the Accessories.
- 1 – 2 Quirks per Characters are sufficient.
If you want to know more about drawing Characters.
Relationships
- Diversity & Consistency
- Body types allow you to develop Visual Contrast.
- Characters should look different.
- And their Difference should helps them to develop affinities.
- As you draw them a Complementarity should emerge.
- Look for this Complementarity in Forms.
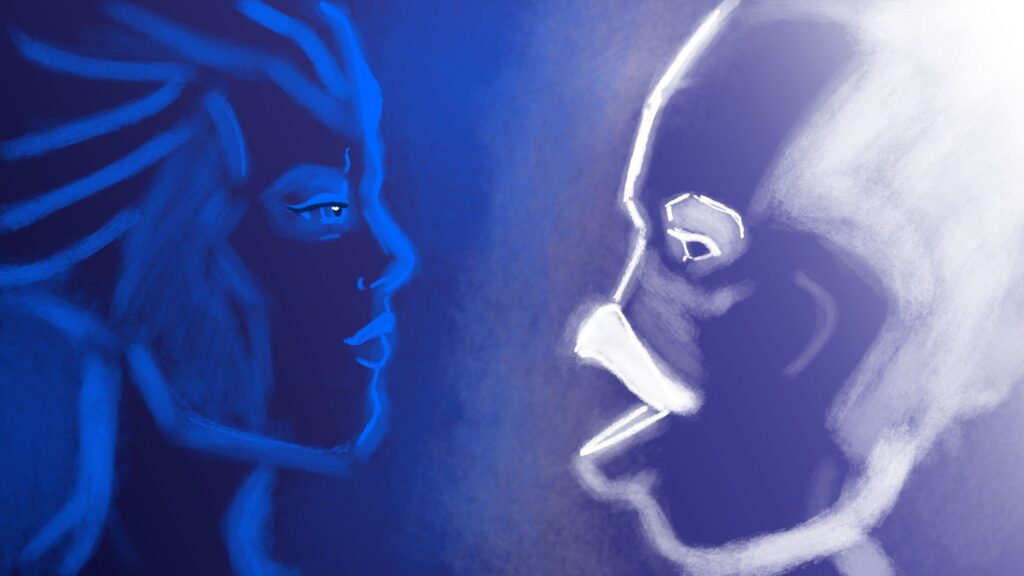
- Sense of Proximity or Distance between 2 Characters
- Try to draw all your Characters on the same Paper sheet.
- Or digital canvas.
- What do you see?
- Which shapes complement each other?
- Which Characters seem to get along?
- Roles & Functions – Quirks
- Can you depict a Character’s Role in a Group?
- Or a Character’s Function in the Story?
- Yes.
- You just need to make her Quirks more Readable.
- Certain Accessories correspond to a Specific Role or Function.
- Make these Accessories more Specific.
- Roles & Functions – Positions
- Try different Positions.
- If a Character occupy a certain Role, let’s say Leader, you’ll want her to be in front of the Group.
- Or standing back, depending on the type of Leader.
- Here too, re-draw the Characters.
- Draw them many times in group.
- Try different Characters in the same group.
- See how they pair.
- How they’d interact.
- Draw them in different Environments.
- How would their interactions be affected by the Environment?
- Relationship with the Environment
- Draw a Character in her preferred Environment.
- It could be the place she was born in.
- It could be the place in which she spend most of her time.
- Draw another Character next to her.
- How do they interact?
- Draw a 3rd Character.
- Where is she in the image?
- What is she doing?
- Is she trying to interact with the other 2?
If you want to know more about how to display Relationships.
10 Scenes
- Draw the 10 Main Scenes of the Story
- 10 Chapters is a great number to create Consistency.
- In the beginning, and you may not need more than that.
- Draw 10 Scenes.
- For each chapter, Draw the 1 Scene which Defines the Chapter.
- The Scene which depicts the Chapter’s crucial event.
- Where does the Protagonist stands in this Scene.
- What she looses.
- What she wins.
- Decide if you need more Scenes
- If you have multiple months to write your Story you’ll want to diversify the types of scenes you display.
- You’ll also want to redraw them.
- Do not discard any Scenes you’ve already drawn.
- If you’ve drawn a Scene, it is drawn.
- When it comes to Photography, spontaneity is key.
- The 1st batch of Scenes you’ve drawn may be the most important.
- Do not put them away.
- Rather than this, Complement them with more scenes.
- Eventually add more details to the original Scene.
- What if I need more than 10 Scenes?
- You may want to draw Up to 40 different Scenes for 1 Story.
- Or 4 per Chapter.
- Mare than 40 Scenes would be detrimental to the Story’s Clarity & concision.
- 40 is also quite a high amount.
- If your are starting you may not want to draw as many Scenes.
If you want to know more about Composition.
Cover
- 3 Ideas
- Draw your 1st Cover.
- Draw 2 other Cover Designs.
- How different are they?
- How do you Represent the 4 main Themes of the Story?
- How are they displayed?
- Are they clearly visible?
- Which Themes are prevalent?
- Is one of them hiding the others?
- Display
- How would you display your Cover?
- Which imagery is adapted?
- Will you use the 3 versions?
- Which 1 should be on the Front?
- Which 1 should be on the Back?
- Did you create a Continuity between them 3?
- How does it fit, as 1 Continuous Cover?
- What do you want the Public to see?
- What do you you show them?
- Which Information did you hide in the Cover?
- Which Hidden Imagery did you use?
- Definitive Composition
- If 1 Cover is prevalent over the other 2, you may want to only use it.
- You are the one balancing diversity & consistency.
- If you estimate that your Themes will be clearer thanks to 1 cover you will privilege it.
- Choose the most suitable.
- And Integrate the other 2 in the Book.
- These other covers may serve as support for your interior Scenes.